Wesley: The Team Player Who Gets Us There
Our 1985 VW Westfalia, named after the Dread Pirate Robert, from our family-favorite film "The Princess Bride" is neither she nor he. With a sleek design, new paint job, and long eyelashes, Wesley attracts a fair amount of attention but was all business when it came to starting, climbing, and cruising. Except for that one time on a lonely stretch of road in Costa Rica when s/he stalled without warning and the other time when s/he overheated as we crossed the border back to the US. But we take the good with the bad and after traveling 15,000 miles together to Panama and back, s/he has secured a place in family lore.
Wesley's Modifications
Prior to departure, Wesley spent several months in rehab, preparing for our grueling route through deserts and mountains. In light of our lack of any mechanical knowledge, we were fortunate to find Alaric Hernandez, a magician of a Vanagon mechanic, located in Oakton, VA, 20 miles from our home. Alaric works exclusively on Vanagons in his home garage and specializes in getting them ready for overland trips. Alaric completed the large majority of mechanical work and we credit him for our trouble-free journey. We also did a fair amount of other modifications to make living in the van for a year more safe, practical, and comfortable for all four of us.
Mechanical work/modifications
- Recalibrated the transmission to provide more power in lower gears
- Installed new clutch
- Replaced leaky power steering rack
- Installed new front and rear tie-rods
- Installed new re-valved Bilstein shocks
- Installed new rear control arm bushings and upper control arm bushings
- Installed new rear stainless steel brake hoses
- Replaced the heater hose
- Replaced the engine gaskets
We spent approximately $8000 on these and other mechanical upgrades that we can't remember, and it was money well-spent for the peace of mind it afforded us on the road. Driving a 30-year old vehicle beyond the reach of AAA was an intimidating undertaking and at the beginning of the trip, we were hyper vigilant about any odd sound, vibration, or smell. We hadn't yet figured out what things we could ignore (the spiking temperature gauge, as long as it eventually goes back down) and what required immediate attention (a high pitch squealing sound from the engine bay accompanied by spewing green fluid). Needless to say, we recommend being as mechanically sound as possible prior to departure. That said, we have great confidence in the resourcefulness and ingenuity of Mexican and Central American road-side mechanics.
All told, we experienced very few mechanical issues: the odometer stopped working between El Salvador and Nicaragua, so we don't have a completely accurate distance reading and on a lonely hot stretch of road in Costa Rica we stalled out due to a loose electrical wire. Every time we turned the key in the ignition, Wesley started right up. S/he climbed (most) every hill we needed to climb and stopped every time we hit the brakes. We did have to chock the wheels when we parked on a hill because the emergency brake just doesn't hold tightly enough. The biggest problem we encountered was on our last day in Mexico. We had been sitting in stop and go traffic in Nuevo Laredo, Mexico, inching our way towards the border on a 110 degree day. After three hours of that nonsense, Wesley had a temperature tantrum and overheated. This is how we crossed the border from Mexico to Texas.
Comfort/Safety/Convenience Modifications
Adding pestañas and a three-window tent are two recommended modifications.
- Added eyelashes (pestañas, a word we learned quickly from police officers, soldiers at military checkpoints, and gas station attendants who all made a point to admire them as they smiled and pointed them out to their buddies )
- Installed an LED 3rd brake light
- Upgraded our tent to a 3-window tent. We felt that having a cross-breeze was important in the tropical climates where we would spend a lot of time camping, and thus considered this an expensive but justifiable upgrade from the original one-window tent.
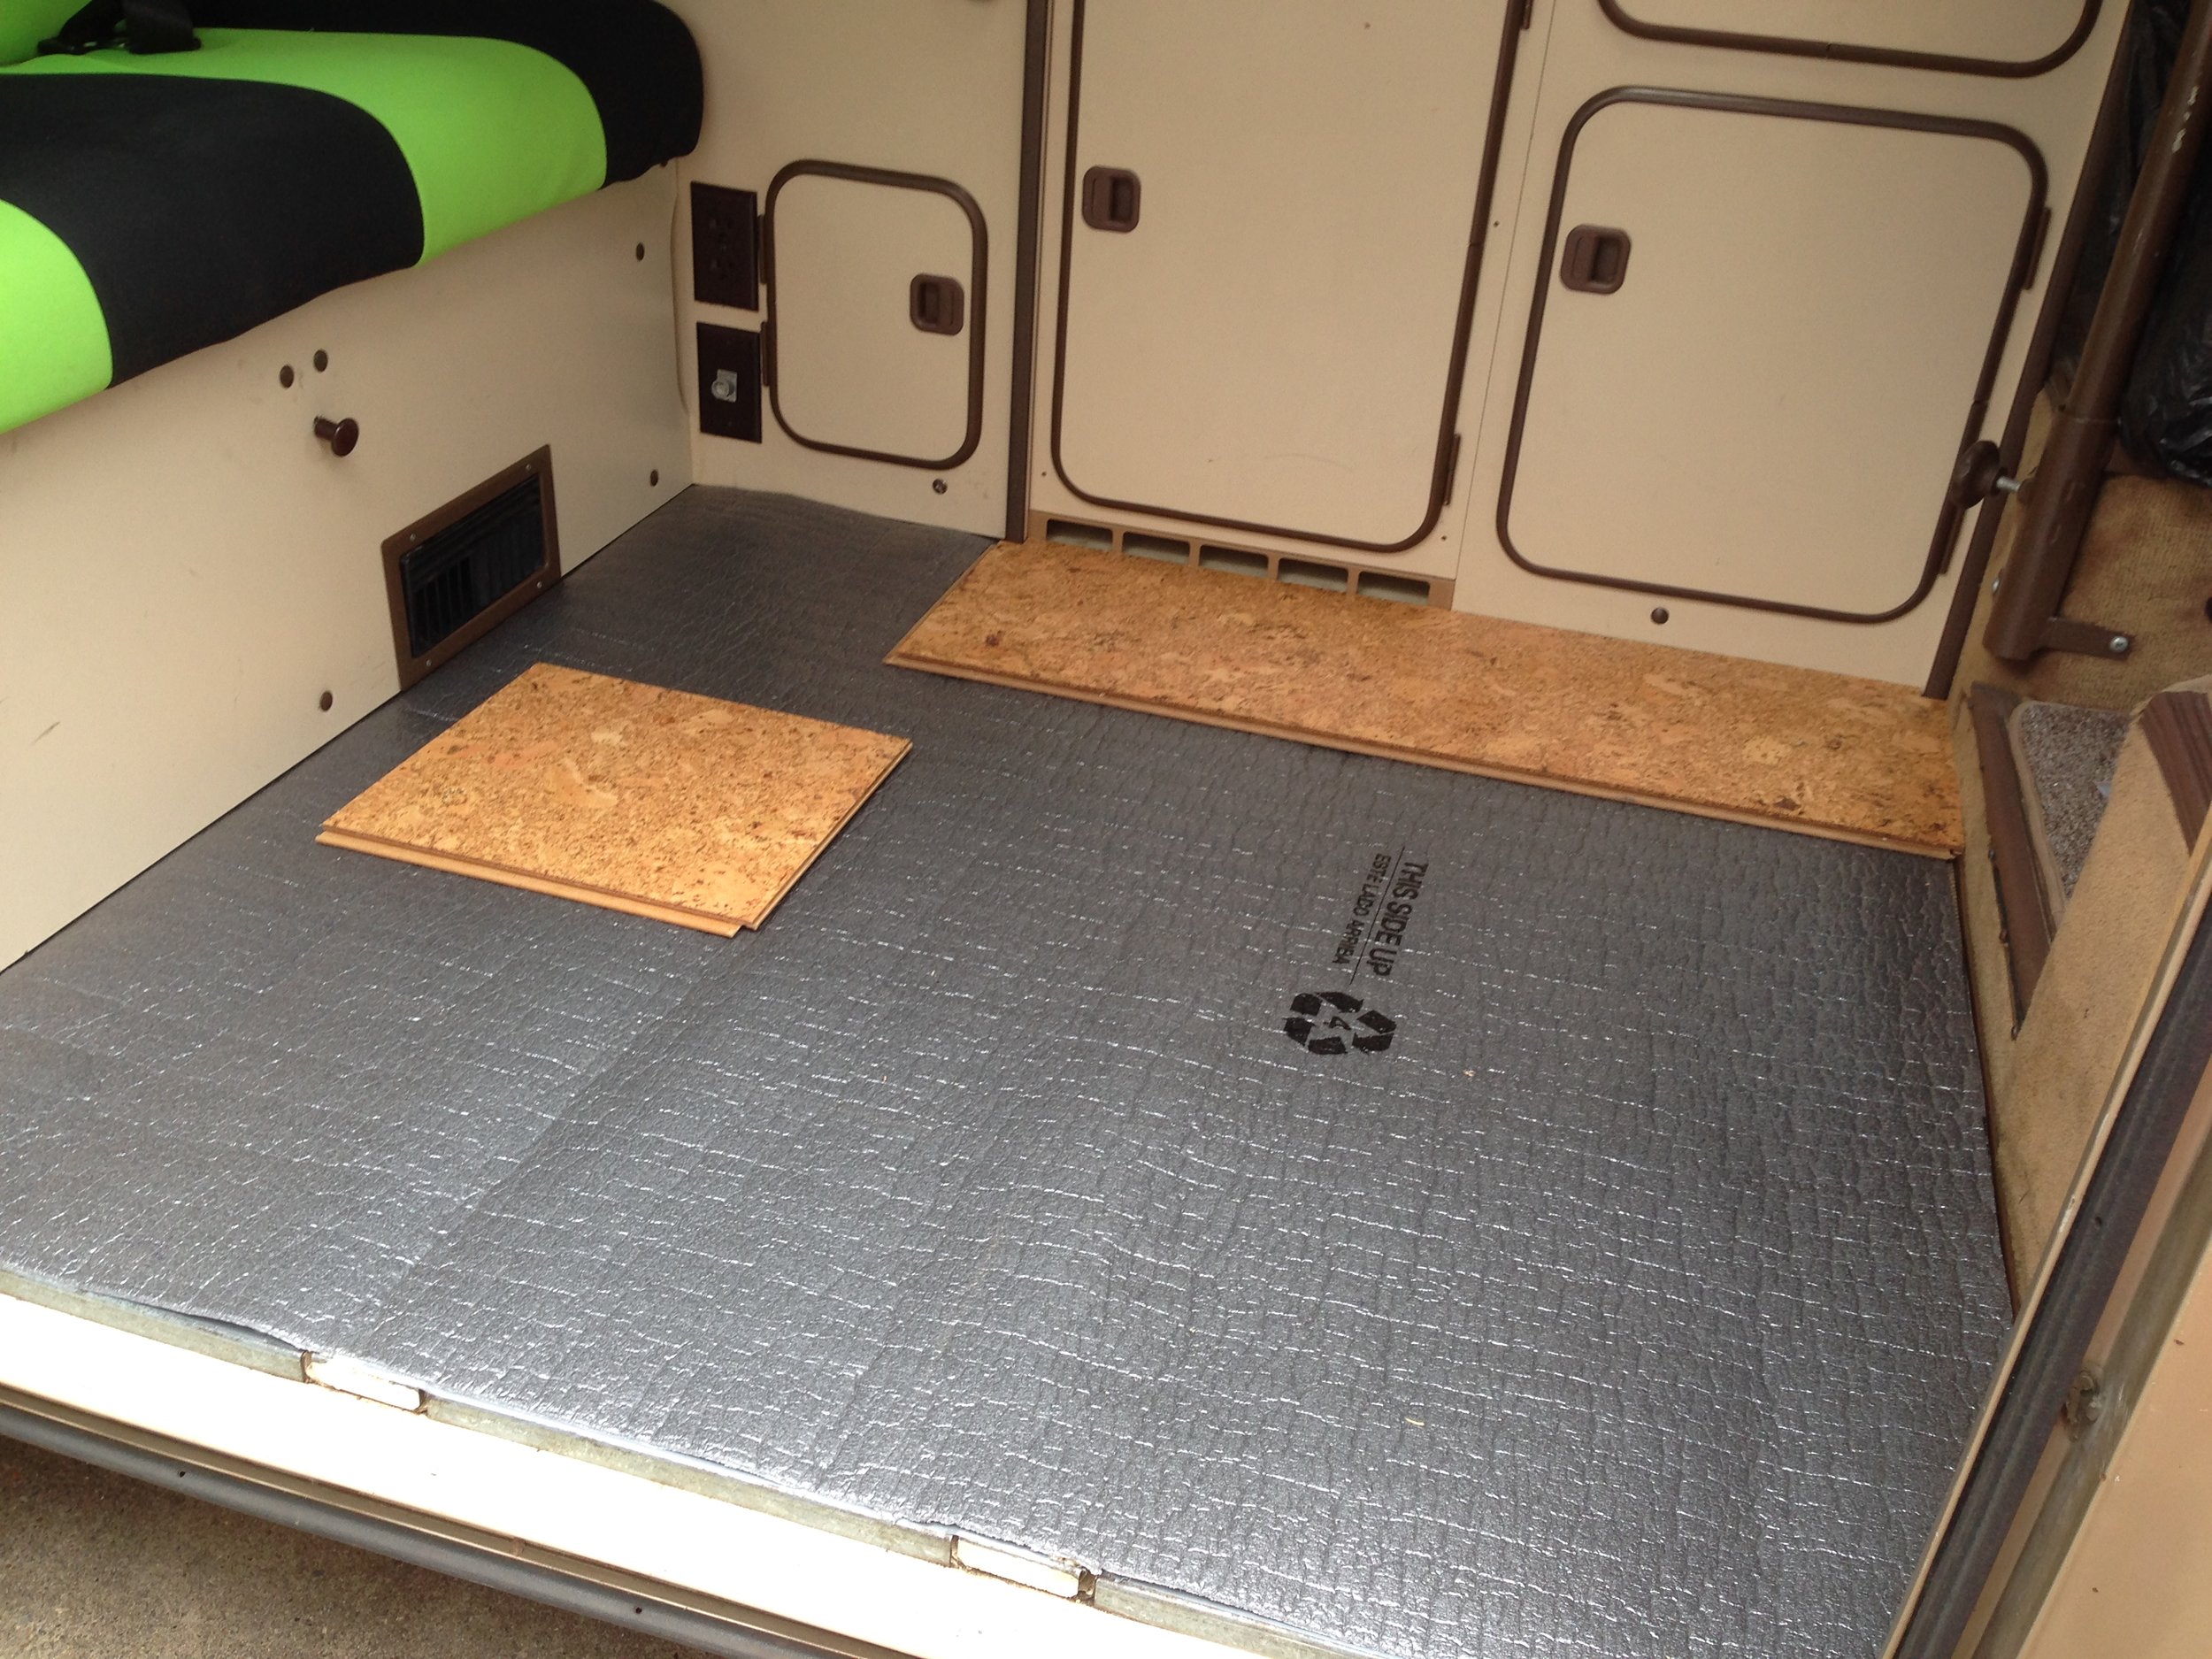
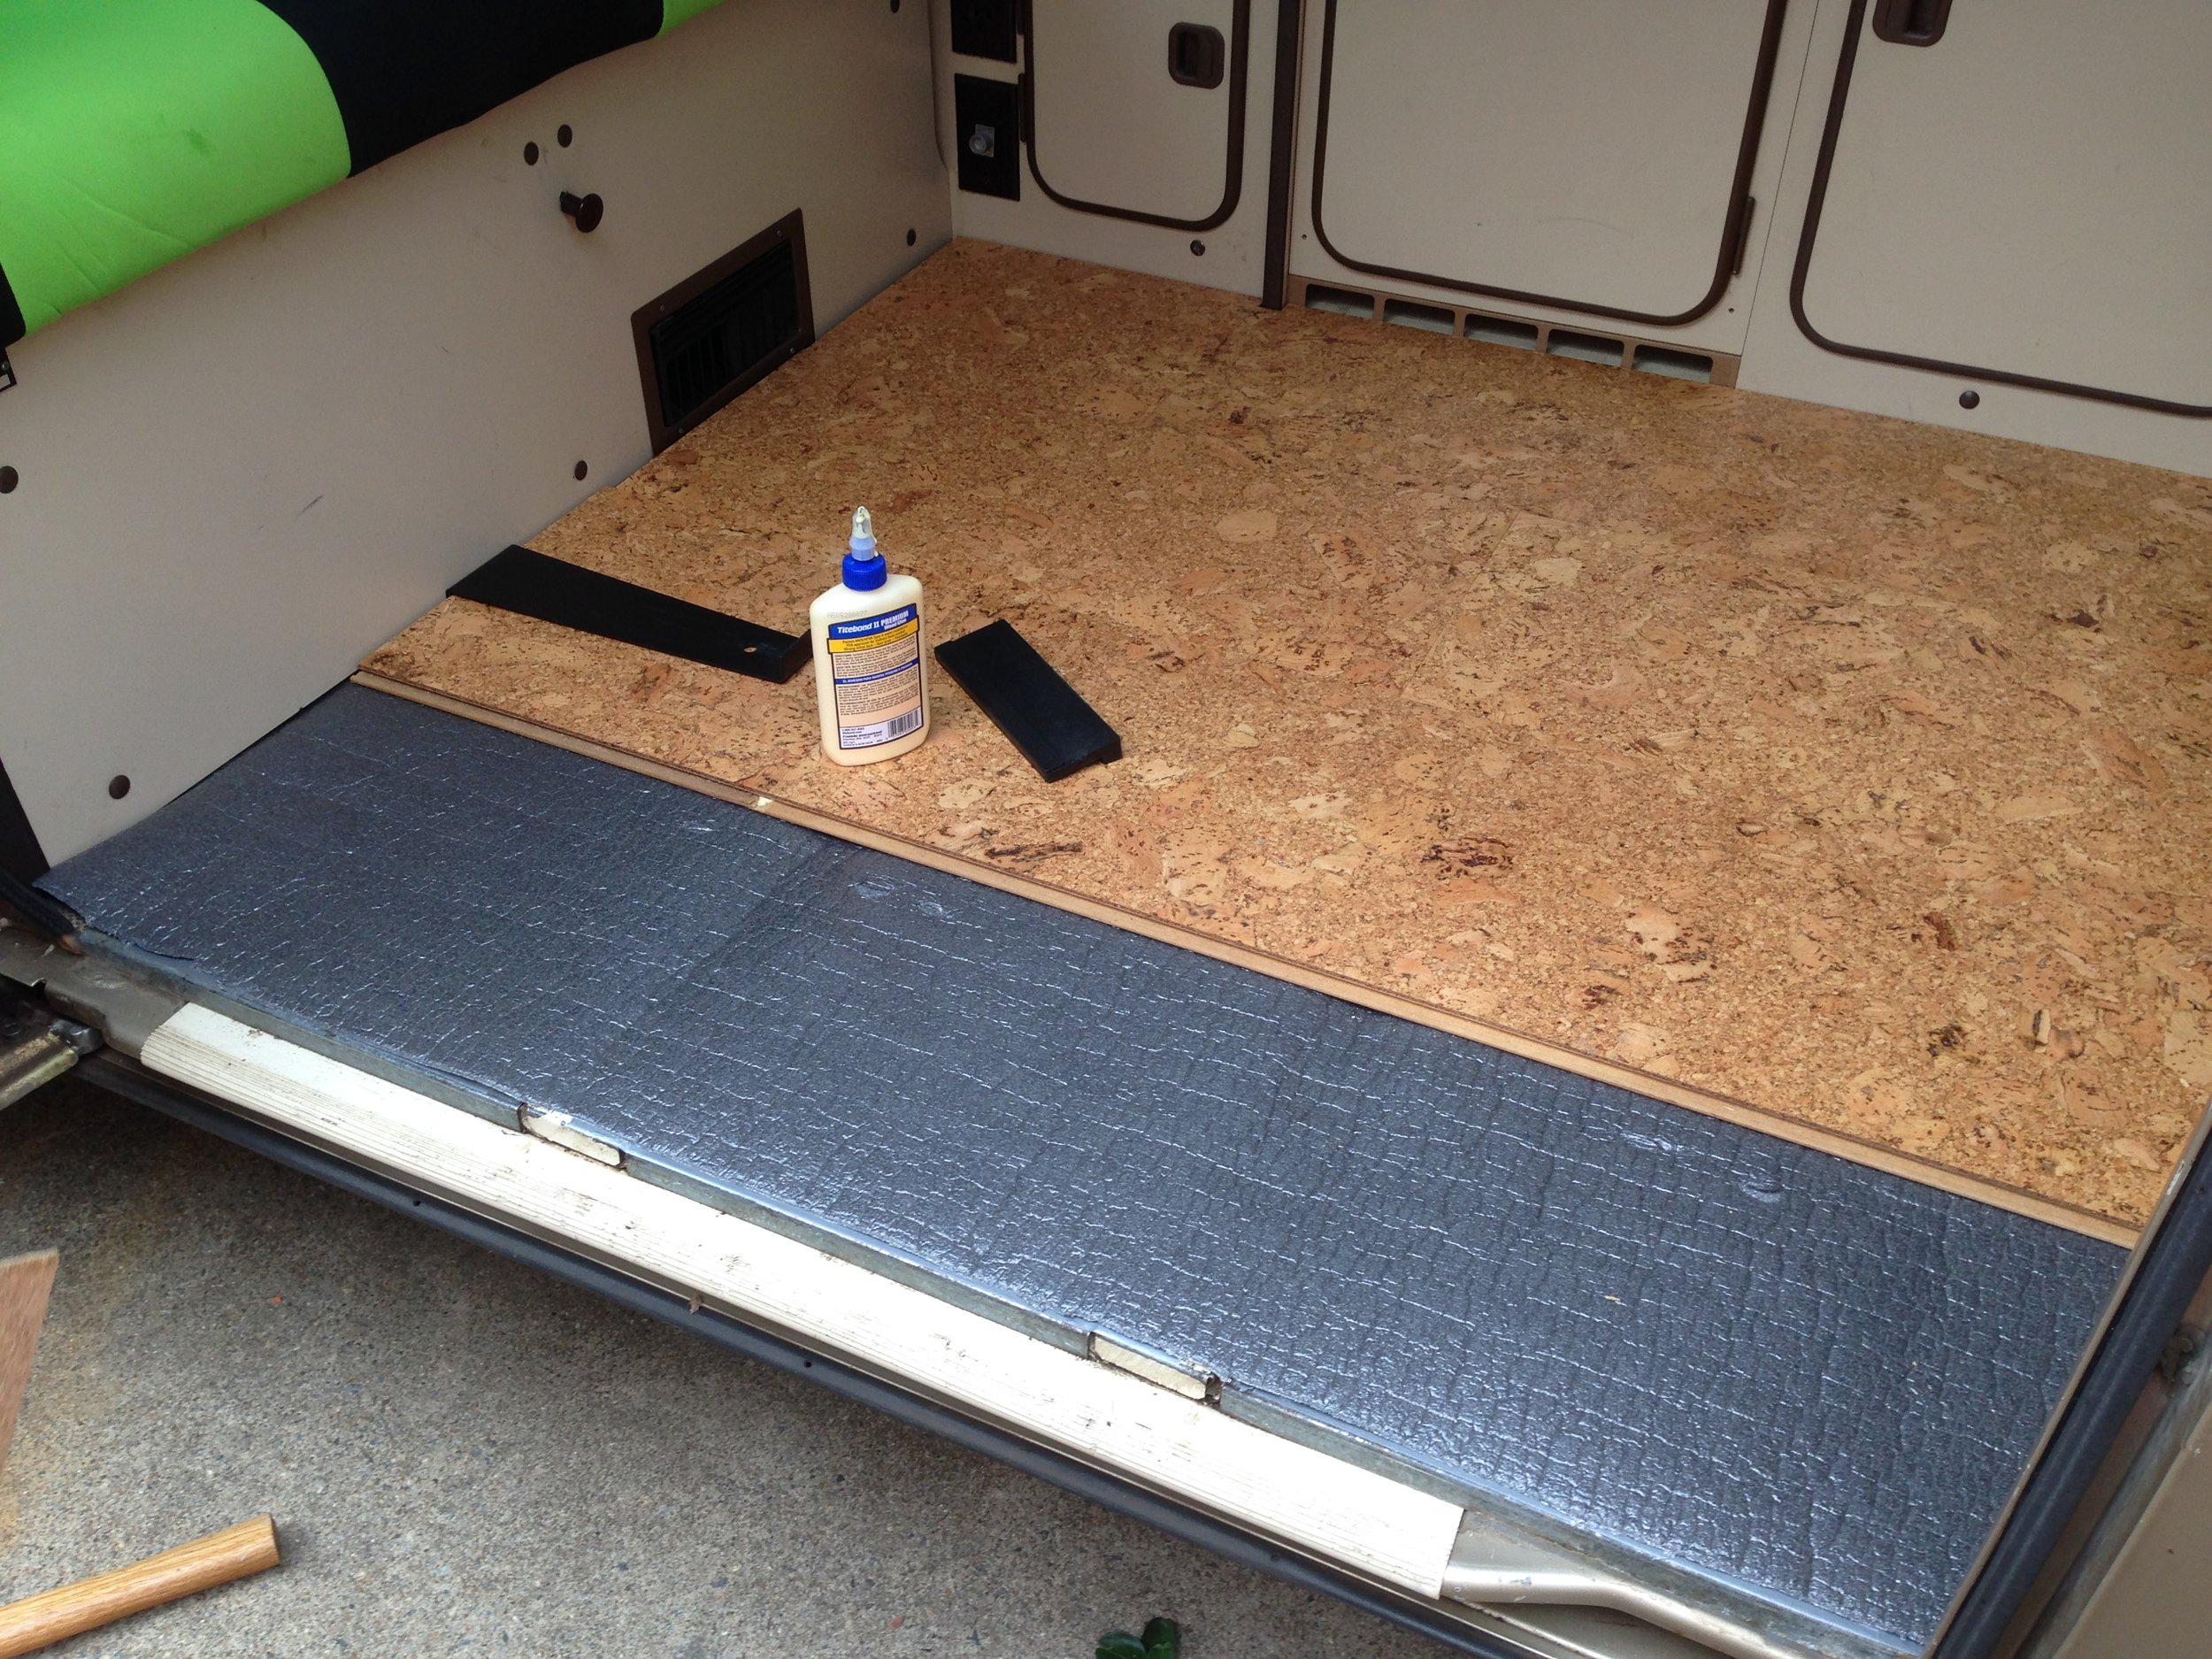
- Installed cork flooring which we found on Craigslist. New cork flooring is expensive but we found someone selling a home's worth of cork floor boards for $25. Economical and environmental - yay! Never mind that we only used a fraction of it to cover the 15 square feet we needed. (Drop us a line if you need some cork flooring!) We left the original flooring and cabinets in place and simply installed a layer of insulation and glued the cork planks on top. Cork was an ideal material for our needs and has held up beautifully. It feels nice to the touch and is easy to maintain. We can easily wipe up any spills and with a couple of swipes of a hand broom, the house is clean.
- Created storage space under the two front seats as well as in the back under the closet using instructions found on The Samba. In the newly opened space we installed a locking storage drawer under the driver's seat. We kept our passports, emergency cash, and extra credit cards in the safe. We opened up the empty space below the passenger seat as well, which is where we kept our vehicle paperwork, iPad, and other things we wanted to keep out of sight but easy to access.
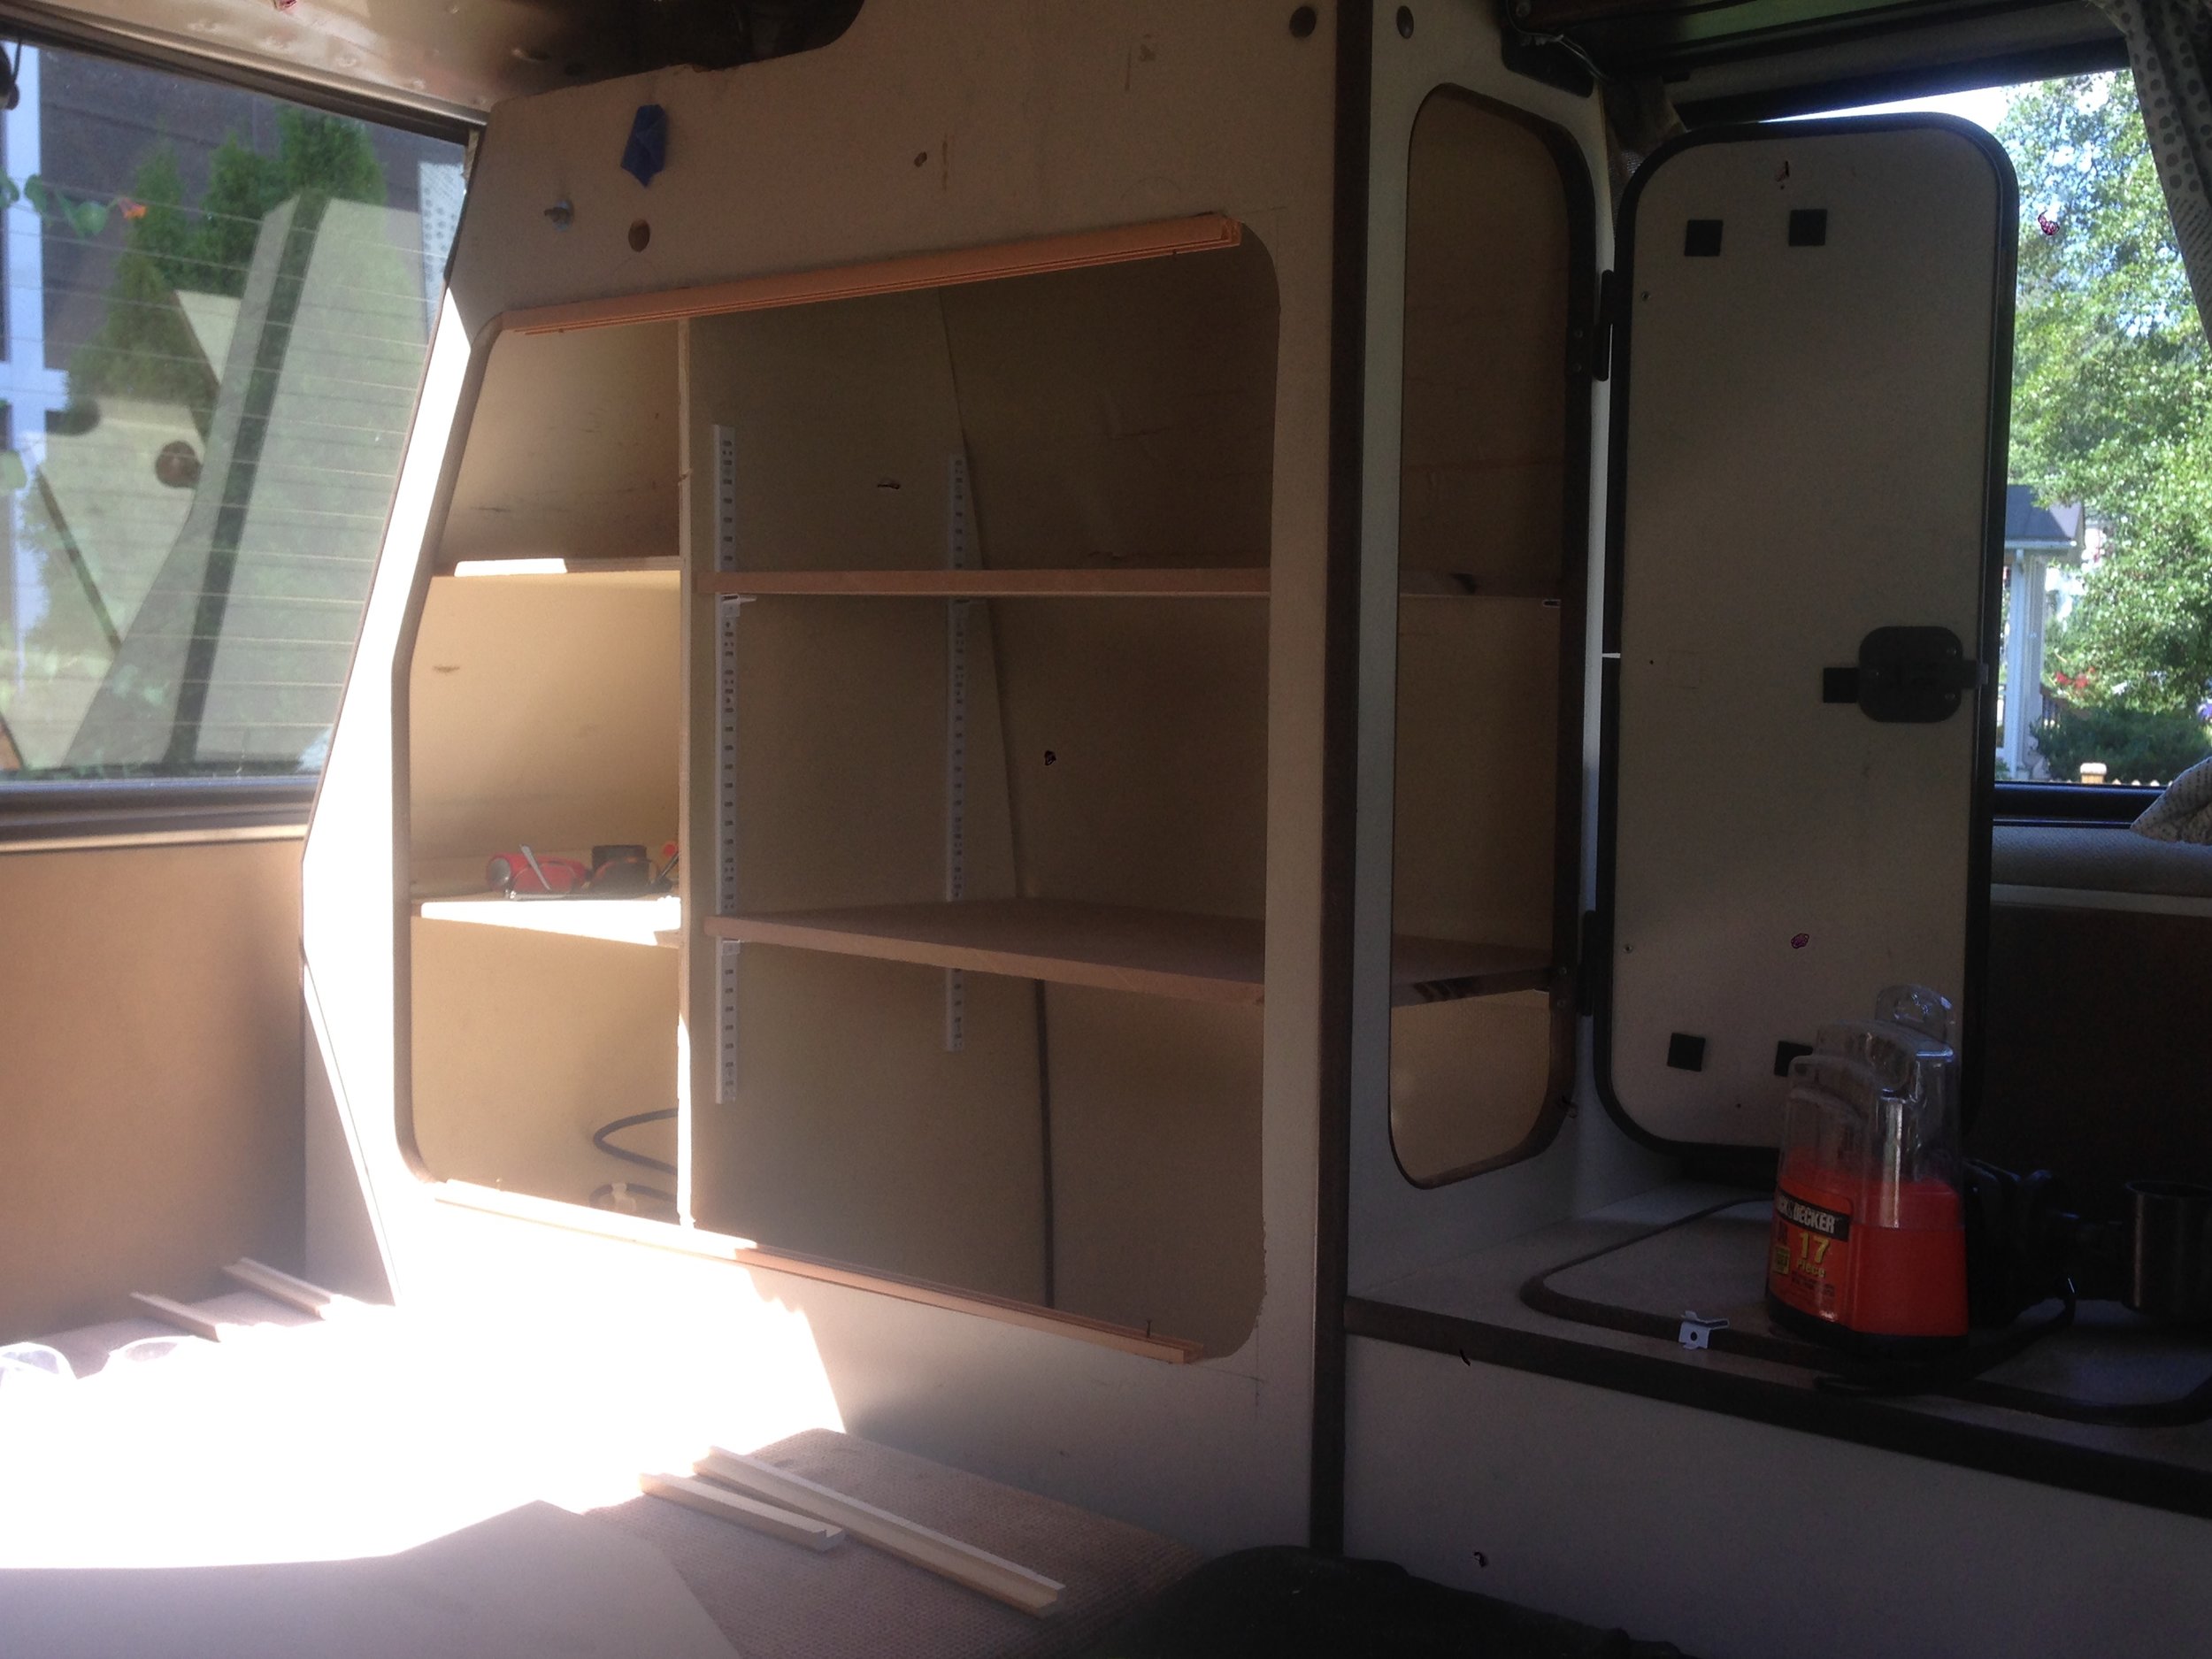
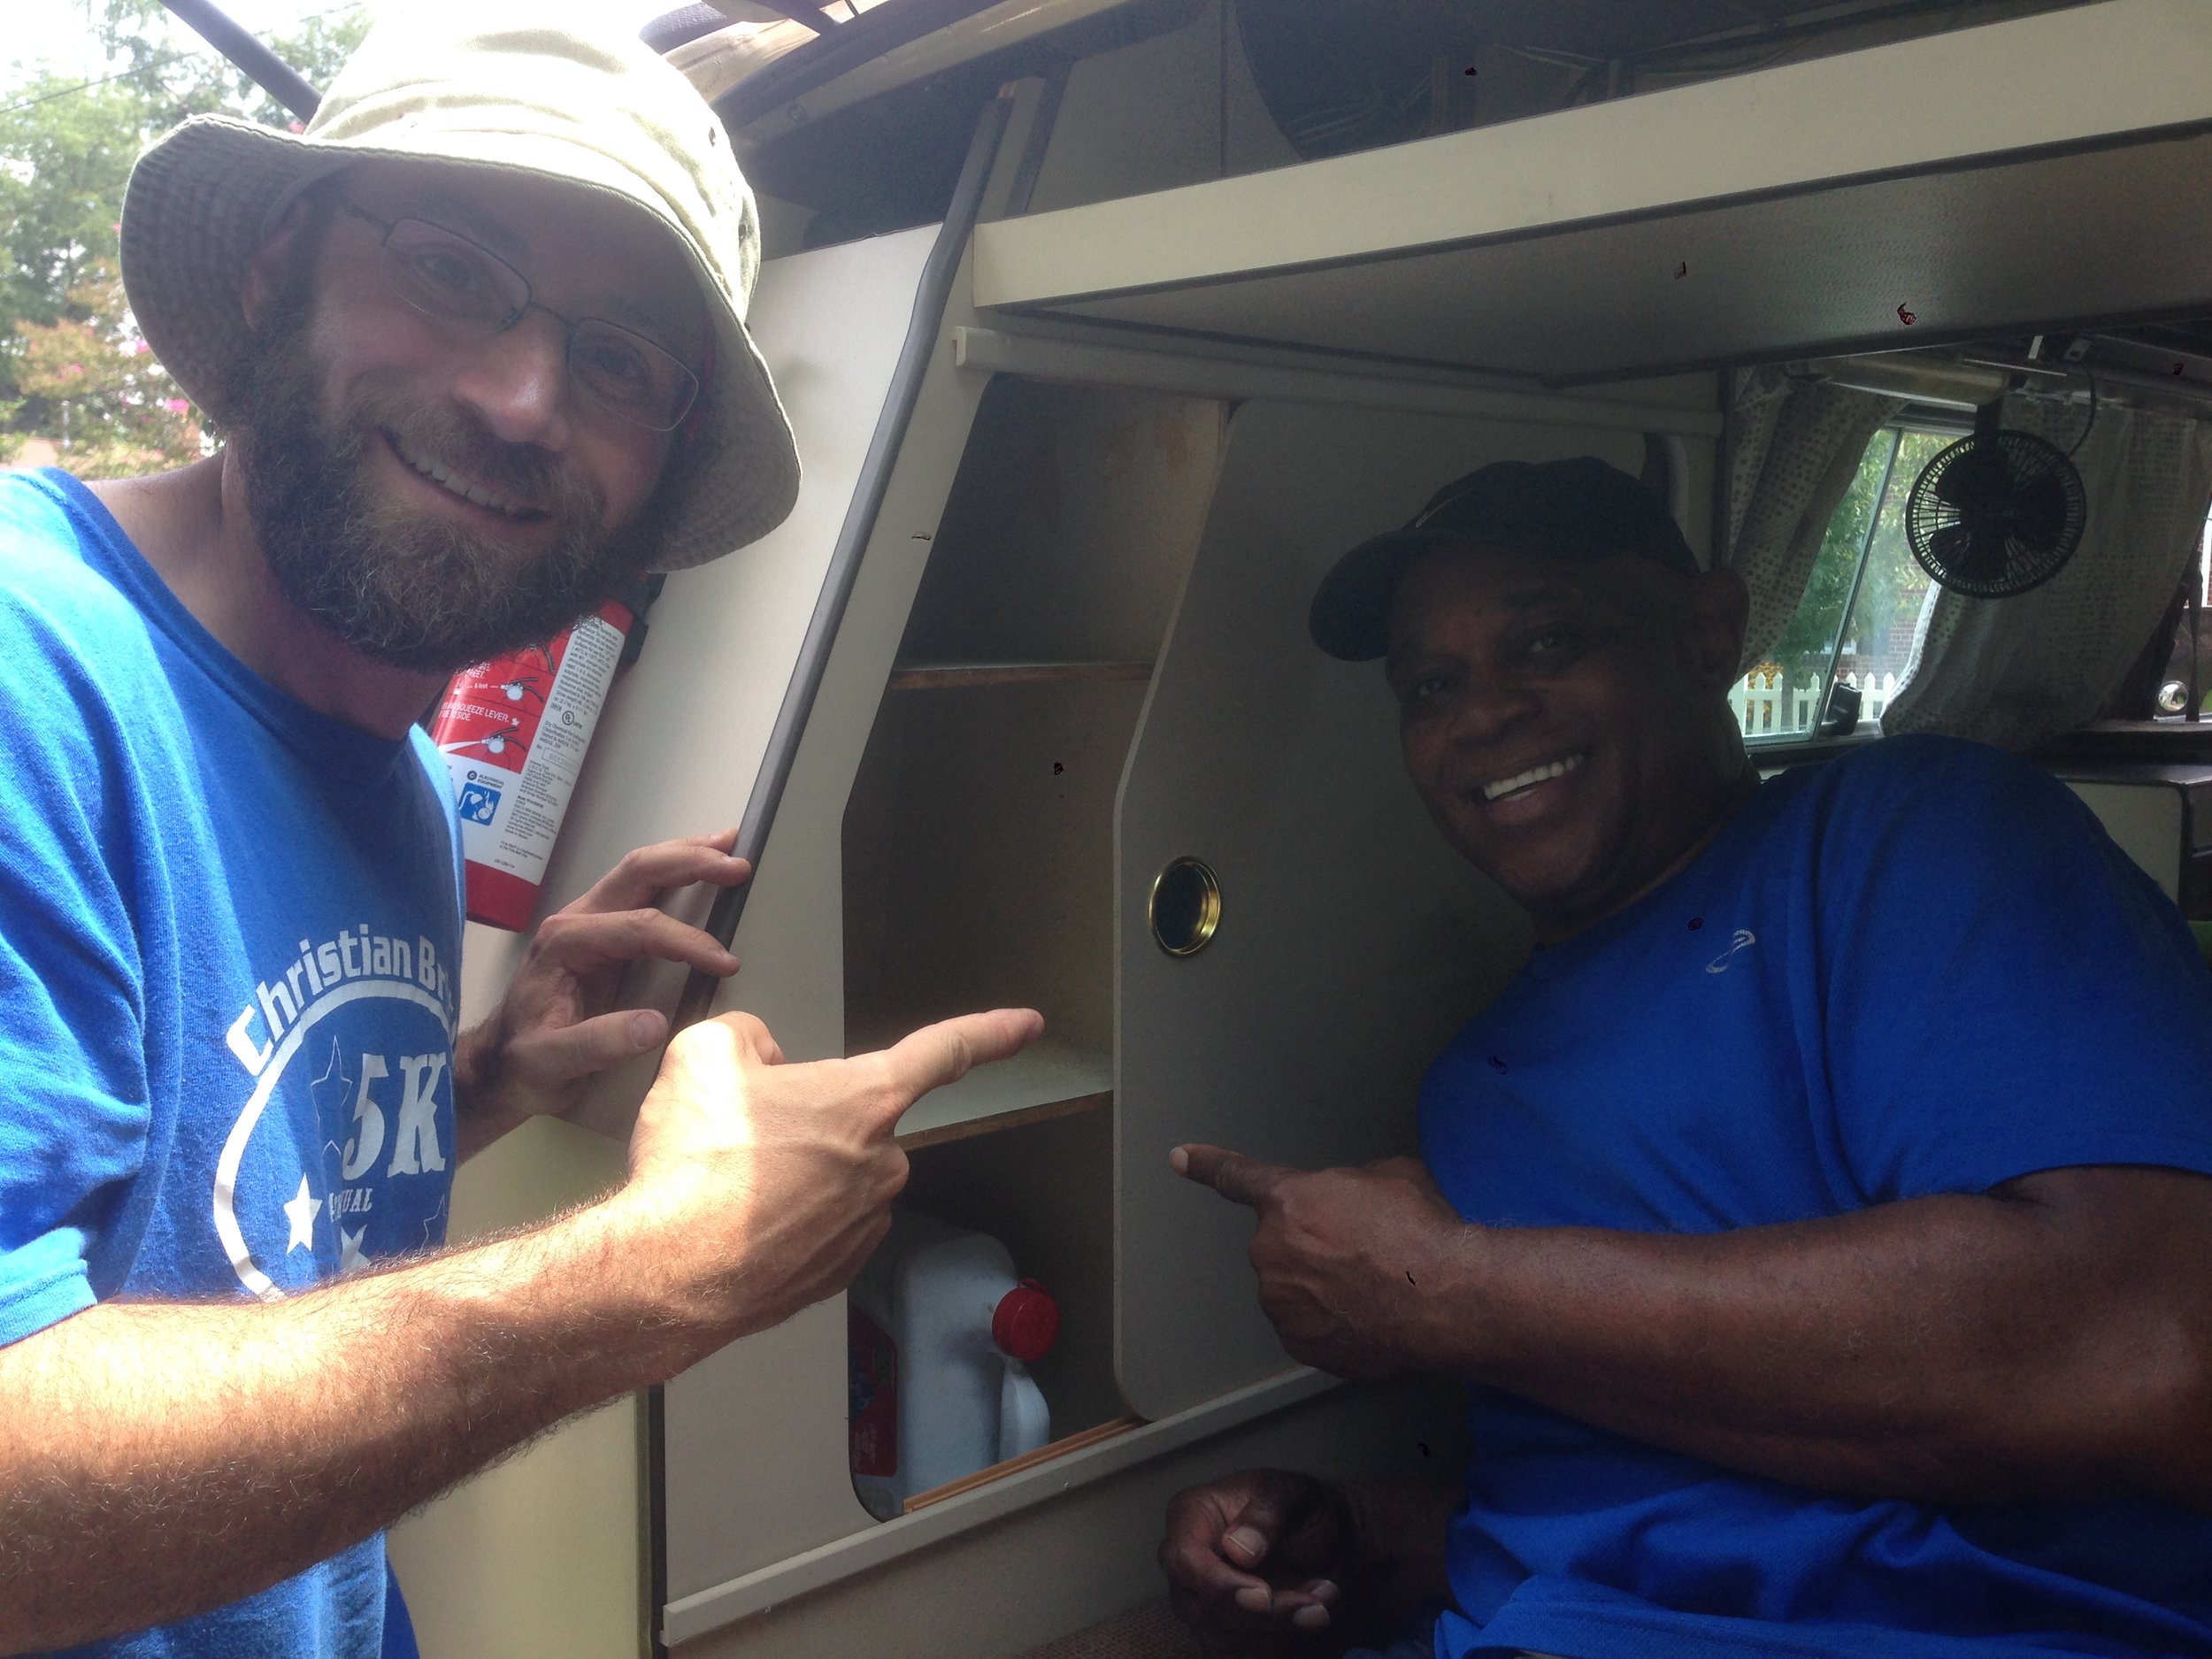
- Changed our rear closet doors with the generous help of a talented carpenter friend. The standard VW Westfalia is laid out with typical German practicality of the mid 1980's when people brought clothes on hangers for a camping trip. A tiny closet with a tiny closet rod, accessible only by a door blocked by the rear table is the factory-original. Since we would not be bringing any clothes needing to be hung, we eliminated the tiny closet rod and installed shelves in its place. To improve access, we cut out a second door to the rear closet and installed sliding doors. This allows a larger space to access the contents of the closet without having to move the table or any gear stored in the cargo area. This single modification has been one of the best as it has exponentially increased access and utility in our back closet. Instructions for this modification can be found here.
The Edgestar 43 quart portable fridge sits on a stand custom-made for it. By raising it off the floor we created room to store our shoes (in the plastic bin) and our Goal Zero Yeti 400, portable battery. This also created extra counter space, useful when cooking inside. Also visible is a USB and 12-volt charging station, located to the left under the table.
- Modified the back table to lower and raise. This allows easier access to the two storage cubbies under the table. Instructions for this modification found on The Samba, here.
- Installed a 100W solar panel above the luggage rack in the front
- Installed a 90ah auxiliary battery under the bench seat
- Removed the original Dometic refrigerator, turning the fridge space into shelved storage.
- Built a stand for our replacement fridge, which created storage space underneath and extra counter space on top.
- Hardwired LED lights above the stove/sink area, above the rear bench, and inside the slider door. Discussions on The Samba always talked about how well-lit people could make their vans, so we were aiming for convenience and brightness. In hindsight we could have done with just one of these strips. Bright lights = lots of bugs.
- Installed rooftop rack system, comprised of
- Thule Towers (or feet as they are also called) in the 5" size, #300. The next larger 8" size #387 may have been better as it allows the skylight to open more. We found ours on Craigslist for a fraction of the price of new ones.
- Thule Artificial Rain Gutters (ARGs) #542. These create the platform to mount the towers and are designed to be drilled into the fiberglass poptop.
- Thule Crossbars: 58" but could go longer if you got a bunch of stuff to stow up there.
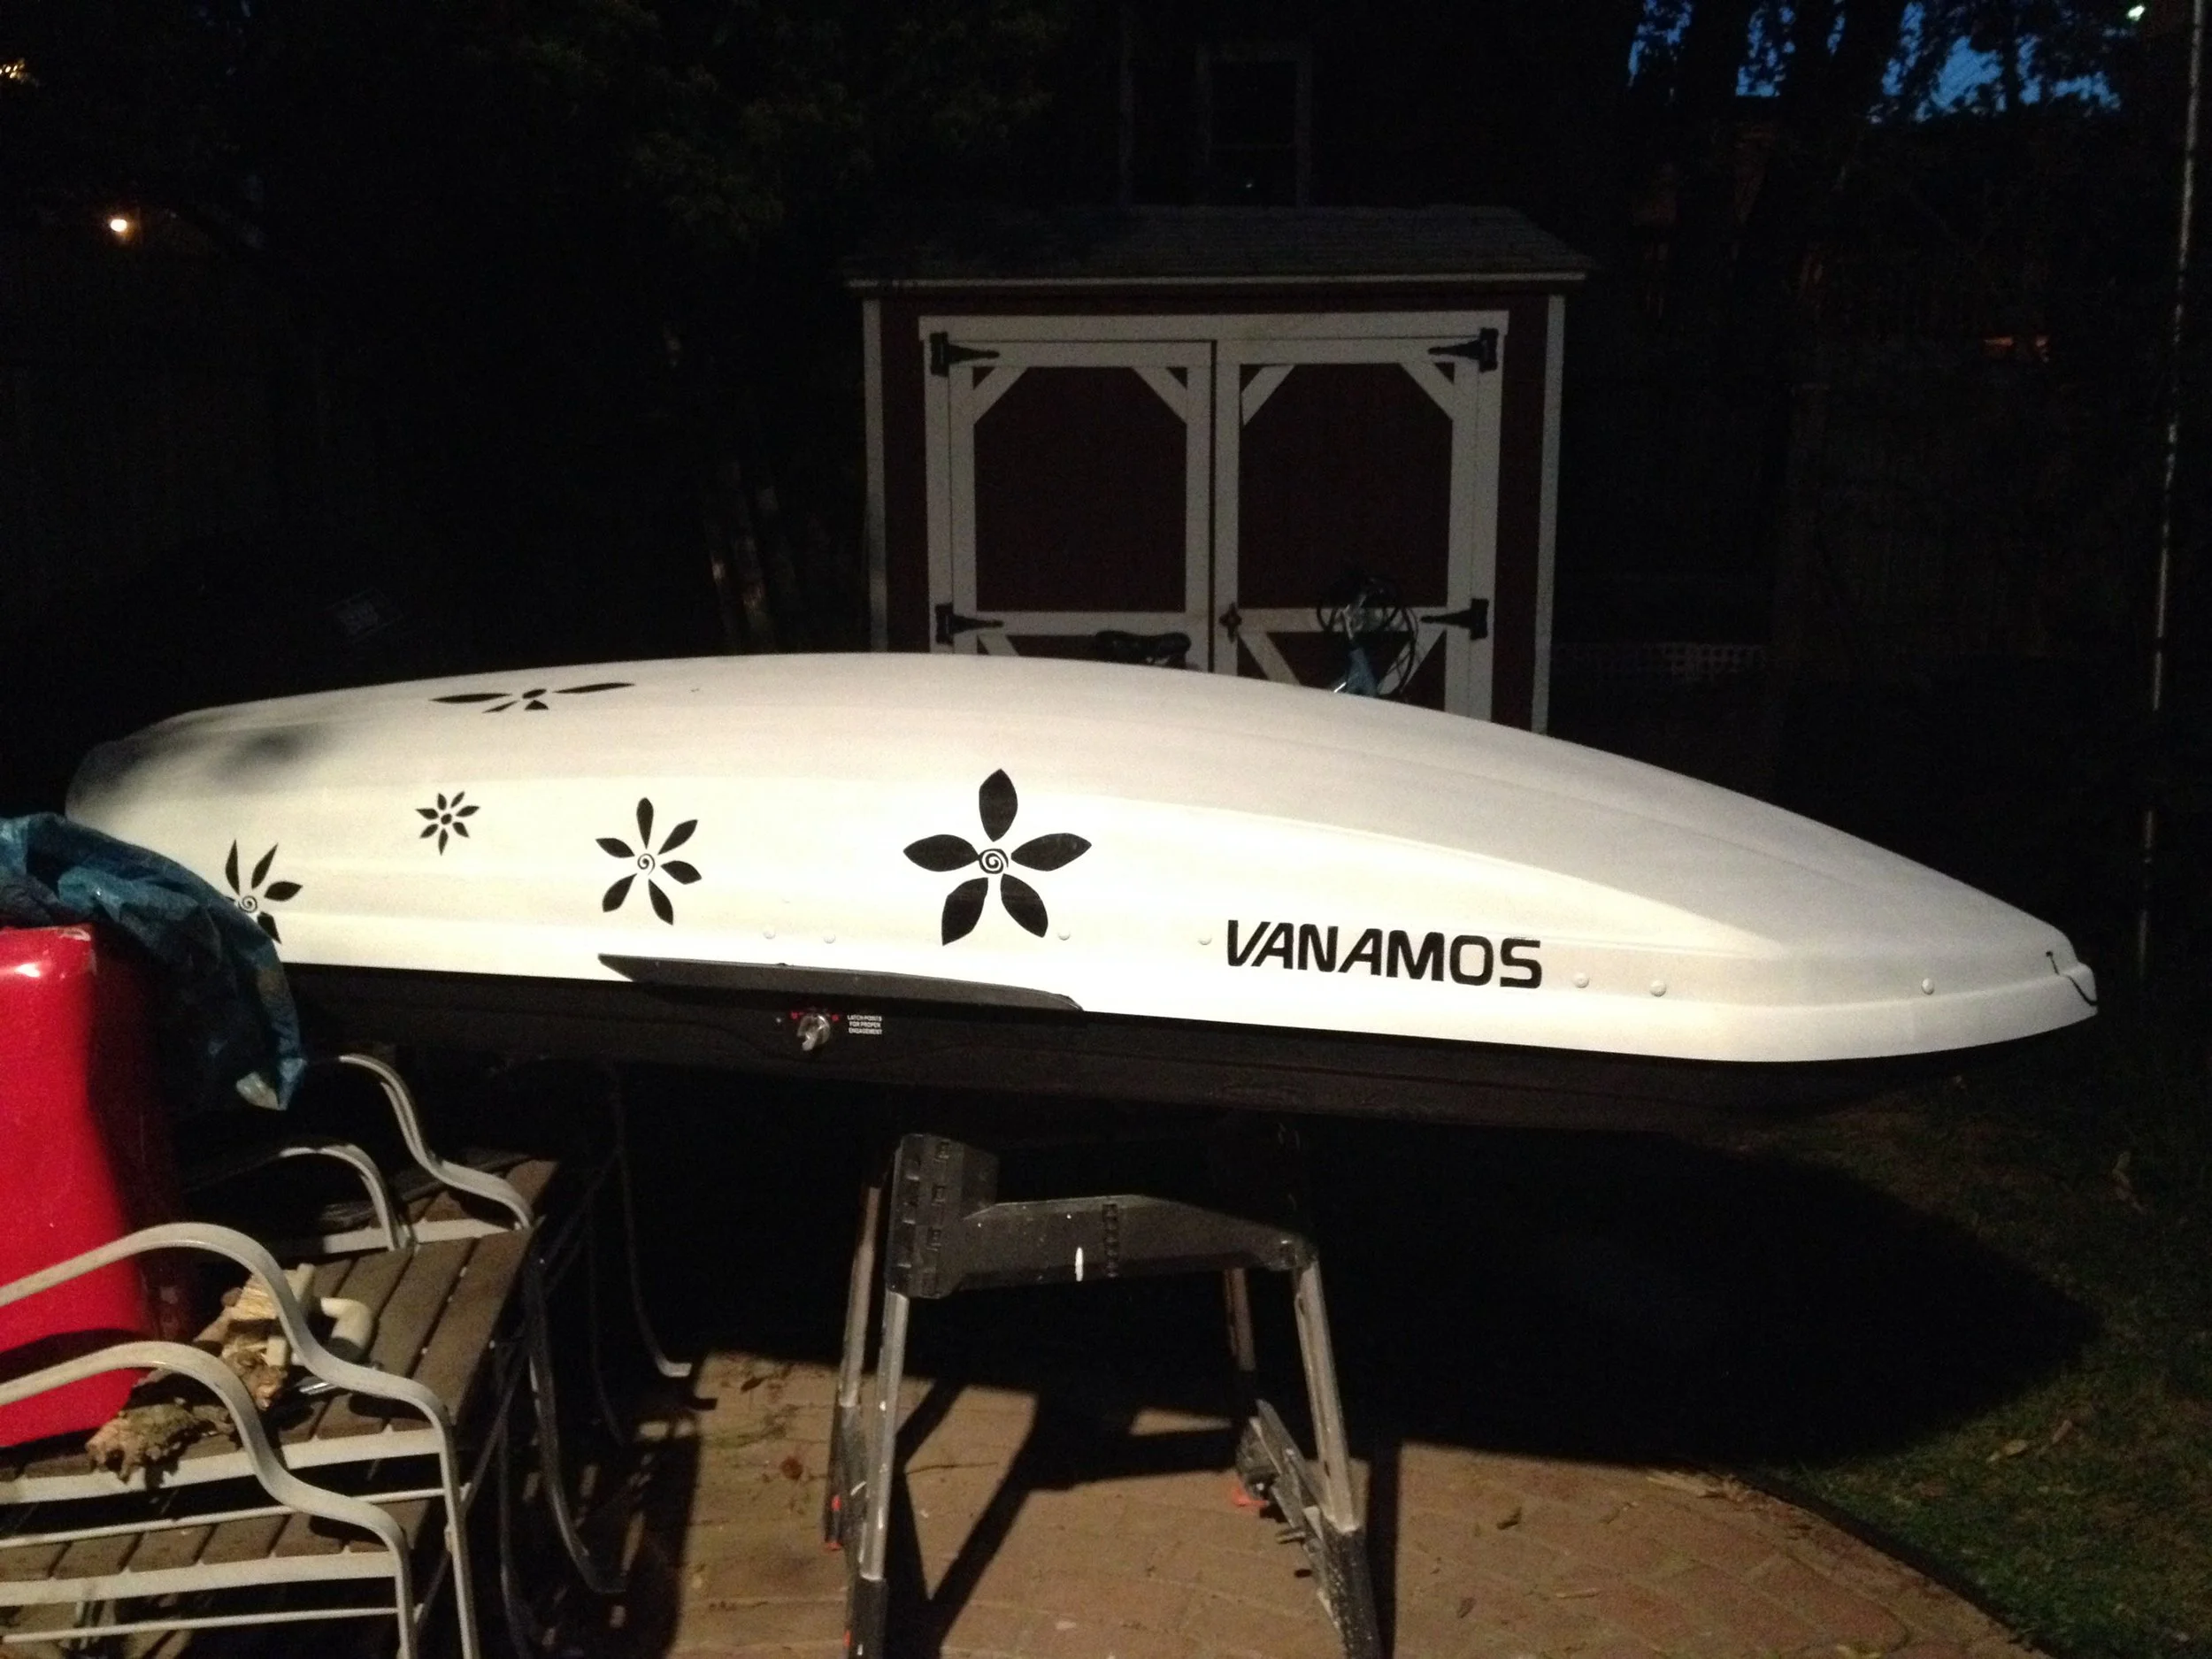
- Refurbished a discarded and cracked Thule rocketbox that we found on the side of the road. $5 for new keys, $25 for a fiberglass patch kit, and $6 for a can of Plasti-Dip aerosol rubber coating, and we had a perfectly functional roof box. We went with white paint for the new finish to reduce heat attraction inside the box. We also used the opportunity to add artistic and personalized touches to the box.
- Installed Jack Bombay's heavy-duty pop top lift assists. These shock assists are made and sold as a kit by some guy up in Canada and come in three sizes: standard, medium, and heavy-duty. Since we were carrying a rooftop box full of camping gear, we opted for the heavy-duty and are glad we did. It simply would not have been possible to open our roof without these lift assists.
